Introduction: Let’s build a phone tracker app
In this tutorial series, you will learn to build a phone tracker app that works on both android and iOS. This can be useful in many scenarios such as delivery and taxi apps.
Let’s Get Started: Building the Server
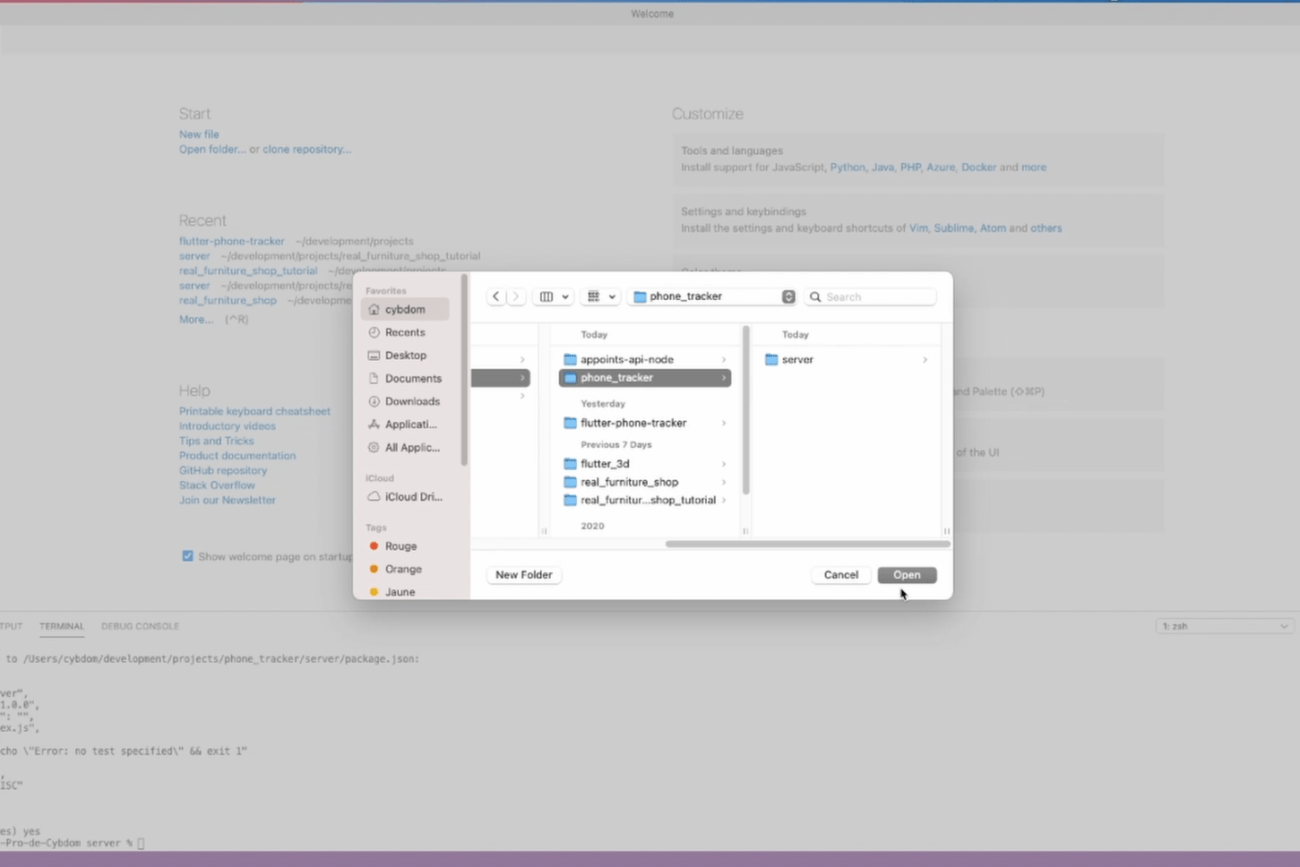
Let’s start by creating a folder for our project, am using the terminal inside VsCode to do so.

Create a folder named phone tracker then create a server folder inside for our node js server.
Use NPM init to create the package JSON that we will use to import our node js packages, you can customize it if you want but am just going to leave it blank for now.
npm initNow open the project directory using your IDE.
Make sure to navigate to the server directory, then add the following packages by running npm install.
npm install bcrypt dotenv express jsonwebtoken md5 nodemon sqlite3Wait for it to install, then add a start script to the package json file.
{
  "name": "desktop",
  "version": "1.0.0",
  "description": "",
  "main": "server.js",
  "scripts": {
    "test": "echo \"Error: no test specified\" && exit 1",
    "start": "node server.js",
    "dev": "nodemon server.js"
  },
  "author": "",
  "license": "ISC",
  "dependencies": {
    "bcrypt": "^5.0.0",
    "dotenv": "^8.2.0",
    "express": "^4.17.1",
    "jsonwebtoken": "^8.5.1",
    "md5": "^2.2.1",
    "nodemon": "^2.0.4",
    "sqlite3": "^4.2.0"
  }
}
Using Nodemon will speed up our development as it will act like hot reload in flutter.
Now let’s create a file named authentication token js.
Start by including the JSON web token module then create an authentication token function that takes 3 variables, request, response, and next.
Let’s get the auth header from our request headers. Then, get the token from the auth header.
Check if the token is null then return a status code 401 in the response.
If we have a token then we pass it to the JSON web token verify function along with the ACCESS TOKEN SECRET that we are going to create later.
Check for any errors, that would mean the token isn’t valid so we return a 403 unauthorized status code.
If the token is valid we set the request user to the user we got from the verify function and call next().
Finally, let’s export this module and create our environment variable.
const jwt = require("jsonwebtoken");
function authenticateToken(req, res, next) {
    const authHeader = req.headers['authorization'];
    const token = authHeader && authHeader.split(' ')[1];
    if (token == null) return res.sendStatus(401);
    jwt.verify(token, process.env.ACCESS_TOKEN_SECRET, (err, user) => {
        if (err) return res.sendStatus(403);
        req.user = user;
        next();
    });
}
module.exports = authenticateToken;
Generating the ACCESS TOKEN SECRET:
Open your terminal and type this command:
node
require('crypto').randomBytes(64).toString('hex')
Now past it in the dot env file and save it.
Now let’s create our database script.
Am going to use sql lite 3 in the verbose mode.
Create a contant DB_SOURCE and give it a file name.
Declare a DB variable, use the Database function of sqlite3 and pass it to the database source. Then check for errors.
If everything goes to plan we should now be connected to the local database, so we can create the User table with an auto-increment integer id, a text username, and password as well as a timestamp. Since we are here let’s also create the logs table, we need latitude-longitude numeric values, a username, and timestamp text.
We can now create the index js, that’s going to be our main app script.
Let’s start by importing everything we need, such as express, bcrypt, JSON web token, the database, and authentication token scripts that we just created.
Also require and configure dotenv.
Setup the express app to use json as a middleware.
var sqlite3 = require('sqlite3').verbose()
const DBSOURCE = "db.sqlite"


let db = new sqlite3.Database(DBSOURCE, (err) => {
    if (err) {
        // Cannot open database
        console.error(err.message)
        throw err
    } else {
        console.log('Connected to the SQlite database.')
        db.run(`CREATE TABLE user (
            id INTEGER PRIMARY KEY AUTOINCREMENT,
            username TEXT NOT NULL UNIQUE,
            password TEXT NOT NULL UNIQUE,
            timestamp TEXT
            )`, (err) => { });
        db.run(`CREATE TABLE logs (
                latitude NUMERIC,
                longitude NUMERIC,
                username TEXT,
                timestamp TEXT
                )`, (err) => { })
    }
})


module.exports = db
ROUTES
LOG ROUTE:
Now create the log route to respond to get requests, log requests must be verified using the authenticateToken module.
Use JWT to decode the token and run a database query that selects all the logs for our current user and sends it back. otherwise, if there are any errors return a JSON formatted error.
We now need to handle post requests to the log route, the process is pretty much the same other than the parameters that now include the user’s latitude and longitude. This time we run a database query that inserts the parameters we talked about into the logs table.
If successful we send a 200 status code otherwise we send the error.
app.get('/log', authenticateToken, (req, res) => {
    const authHeader = req.headers['authorization'];
    const token = authHeader && authHeader.split(' ')[1];
    var params = [jwt.decode(token)];
    var query = "select * from logs where username = ?";
    db.all(query, params, (err, rows) => {
        if (err) {
            return res.status(400).json({
                "error": err.errno,
            });
        }
        return res.status(200).send(rows);
    });
})

app.post('/log', authenticateToken, (req, res) => {
    const authHeader = req.headers['authorization'];
    const token = authHeader && authHeader.split(' ')[1];
    console.log(req.body);
    var params = [
        req.body.latitude,
        req.body.longitude,
        jwt.decode(token),
        Date.now()
    ];

    console.log(params);
    const query = "INSERT INTO logs (latitude, longitude, username, timestamp) VALUES(?,?,?,?)";
    db.run(query, params, (err, result) => {
        if (err) {
            console.log(err);
            return res.status(400).json({ "error": err.errno });
        }
        res.sendStatus(200);
    });
});
LOGIN IN Route:
We are making good progress. Next, we need to create the login route to handle post requests.
Start by getting the username and password from the request body, then run a database query to get the user data where the username equals the one sent in the request body.
We do some error handling, then we use bcrypt to compare the password from the request and the one saved in the database. If they match we create a token using JSON web token and return it in JSON format.
app.post('/login', (req, res, next) => {
    const username = req.body.username;
    const password = req.body.password;
    const query = "select * from user where username = ?";
    db.get(query, [username], (err, row) => {
        if (err) {
            return res.status(400).json({
                "error": err.errno,
                "message" : "db Error"
            })
        }
        if (row == null) {
            return res.status(404).json({
                "message": "Not found"
            })
        }
        try {
            if (bcrypt.compareSync(password, row.password)) {
                const accessToken = jwt.sign(username, process.env.ACCESS_TOKEN_SECRET);
                return res.json({
                    accessToken: accessToken
                });
            }
            return res.status(403).json({
                "message": "Incorrect Password"
            });

        } catch (e) {
            console.log(e);
            return res.status(500).json({
                "message": "Internal server error"
            });
        }
    });
});
SIGN UP Route:
The sign-up process is similar, first, we prepare the SQL query, then create a user object and give it the username, password, and timestamp values while making sure to hash the plain user password.
Then we run the database query and check if everything went well, we generate an access token and send it as a response.
app.post("/signup", (req, res, next) => {
    var sql = 'INSERT INTO user (username, password, timestamp) VALUES (?,?,?)';
    var user = {
        username: req.body.username,
        password: bcrypt.hashSync(req.body.password, 8),
        timestamp: Date.now()
    }
    var params = [user.username, user.password, user.timestamp];
    db.run(sql, params, function (err, result) {
        if (err) {
            return res.status(400).json({ "error": err.errno, "message": err.message, })
        }
        const accessToken = jwt.sign(req.body.username, process.env.ACCESS_TOKEN_SECRET);
        return res.json({
            "message": "success",
            accessToken: accessToken
        });
    });

});
Conclusion:
All that is left now is to call the listen method on port 3000. Save the changes and the server should start.
app.listen(3000, () => {
    console.log("Server running");
});
Now the server is ready, a new user can authenticate and start sending coordinates in real-time and the server will save the data in the database, then the user can log in using the master app and will have access to the logged data.
